How to setup an IMAP email account on your iPhone
Knowledgebase Article
Knowledgebase Article
This guide assumes you've already created an email account in cPanel.
Setting up an IMAP email account on your iPhone lets you access your email from anywhere while keeping your messages synchronised across all your devices. Unlike POP (Post Office Protocol), which downloads emails to one device and removes them from the server, IMAP (Internet Message Access Protocol) keeps emails on the server, allowing you to view and manage your email from multiple devices. Changes on one device are reflected on the others. Your email remains on the server and is also accessible on the go via Webmail.
Follow these steps to obtain the necessary IMAP connection details from cPanel and configure your iPhone.
Before you can set up the device on your phone, you need to obtain the connection details which you can find in cPanel.
1) First, log in to cPanel.
2) Navigate to Email Accounts. In the "Email" section, click on "Email Accounts."

2) Locate the email account you created. Click on "Connect Devices" next to the email account.

3) Under "Mail Client Manual Settings," you will find the IMAP and SMTP server details, including server names, ports, and SSL settings. Note the connection details down as you will need these later. You will also need the password you used when you created the email account. If you don't remember your email account password, you can change this by navigating to the previous screen and clicking Manage and then setting a new password on that screen.

The typical connection details are:
Now that you've obtained your connection details, you're ready to set up an email account on your iPhone.
1) First, locate and press the "Settings" icon. It may be on a different screen or in a different location than shown here.

2) Then select "Mail"

3) Select "Add Account".
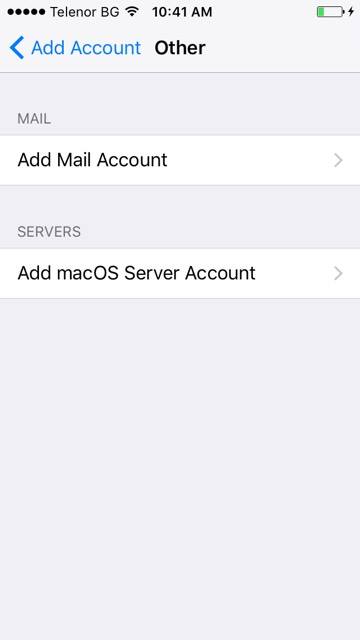
4) Then choose "Other".

5) Press "Add Mail Account".
6) Fill in your Name, Email address, and Password for the email account you’re adding. You can also provide a Description for the account (this can be anything you like).

7) A "Description" will automatically appear, but you can change it if you like. When finished, press "Next".

8) In this tutorial we are creating an IMAP account... therefore, ensure the IMAP option is selected here.

9) Next you have to enter your Incoming Mail Server settings. Enter the Host Name you obtained from cPanel (typically mail.yourdomain.com), along with the User Name (your full email address) and Password (your email password, which may be different from other passwords).

10) Next, enter the Host Name, User Name and Password for the "Outgoing" Mail Server. This will display as optional however filling out these details in full is not optional on our servers and you must complete this. You should enter the same hostname you used previously (i.e. mail.yourdomain.com) along with your email address as the username and the email address password.

11) When finished, press "Next".

12) Then press "Save".

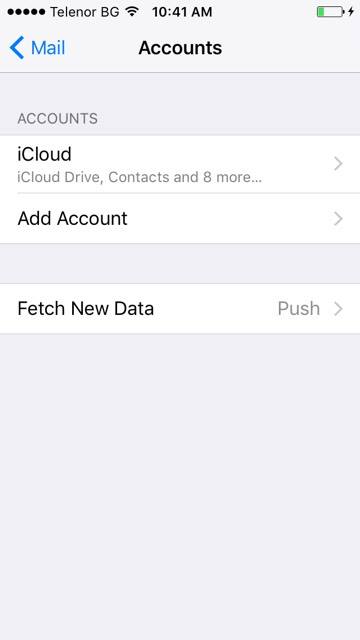
Success! The IMAP email account has been setup on the iPhone, and you can see it here listed under "Accounts".

13) Let's return to the home screen by pressing the Home button on the iPhone.
14) To check your email, press the "Mail" icon here (Note: the icon may be in a different location on your iPhone).

15) If you have multiple email accounts setup in your iPhone, they'll all be listed here. Select the email account we just setup...

16) ... and any emails in your inbox will be displayed here. Click an email header to see the email.

That's it! You now know how to setup an IMAP e-mail account on your iPhone.
Powered by WHMCompleteSolution