Creating A Campaign - Campaign Details
Knowledgebase Article
Knowledgebase Article
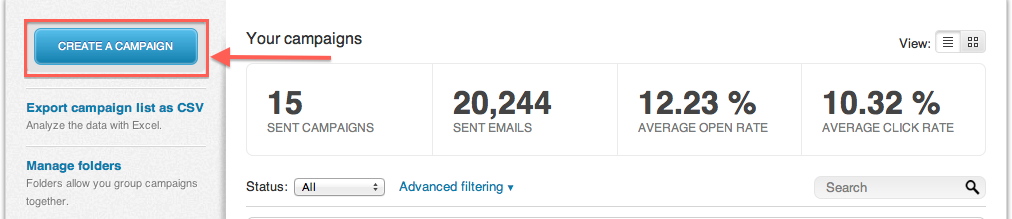
To create a new campaign go to the Campaigns tab and click on Create New Campaign on the left hand menu
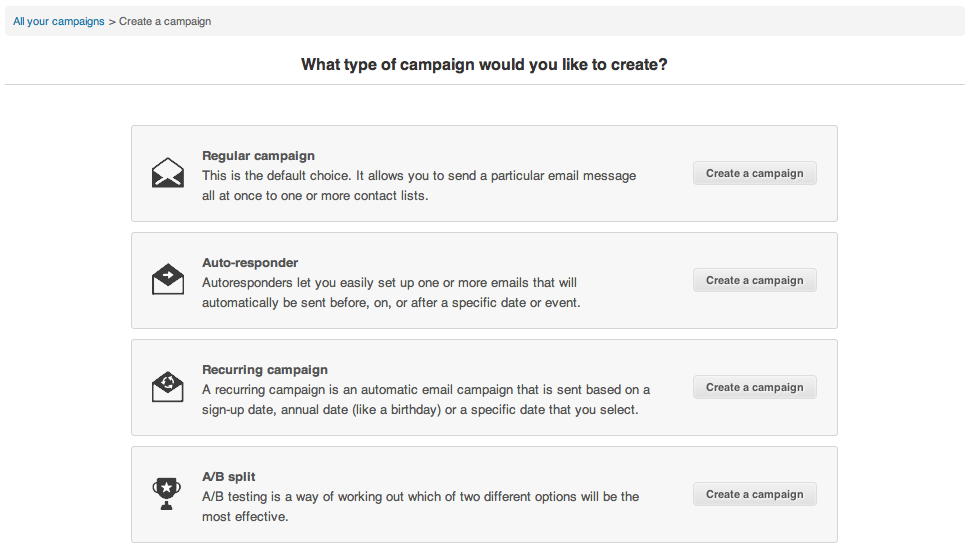
You will have the option of choosing from a Regular email, Auto-Responder, Recurring Campaign, or A/B split test
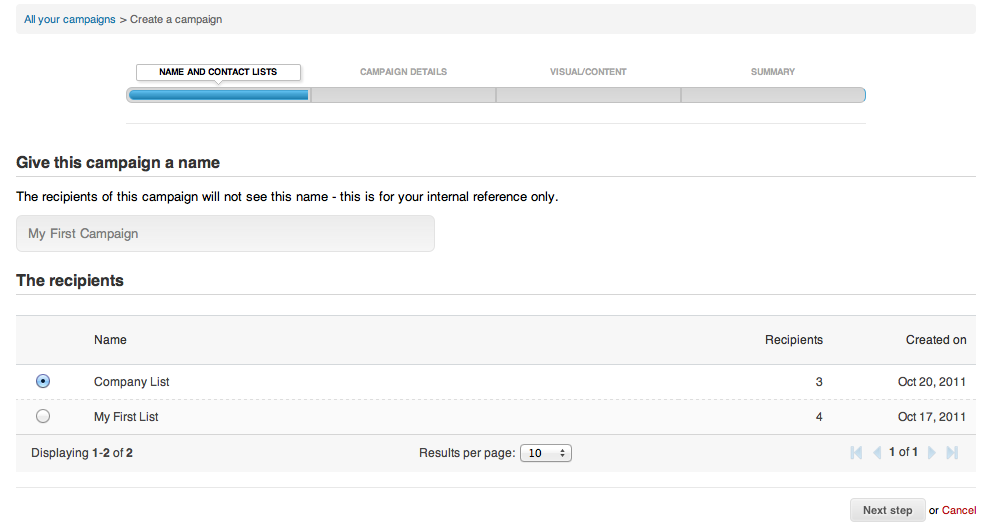
You will begin by giving your campaign a name and choosing to which list you will send it to. Depending on the type of campaign the information below will vary slightly. For this example we will use a Regular campaign.
Under The recipients you will have a full view of all your contact lists, along with details such as how many recipients your list has, when it was created, and if it contains any groups.
In the next step you will enter your campaign details.
Begin by entering your campaign's subject (this will appear as the email's subject line), the sender's name and email, and if there is an alternate reply-to email (this is useful in case recipients wish to contact someone directly).
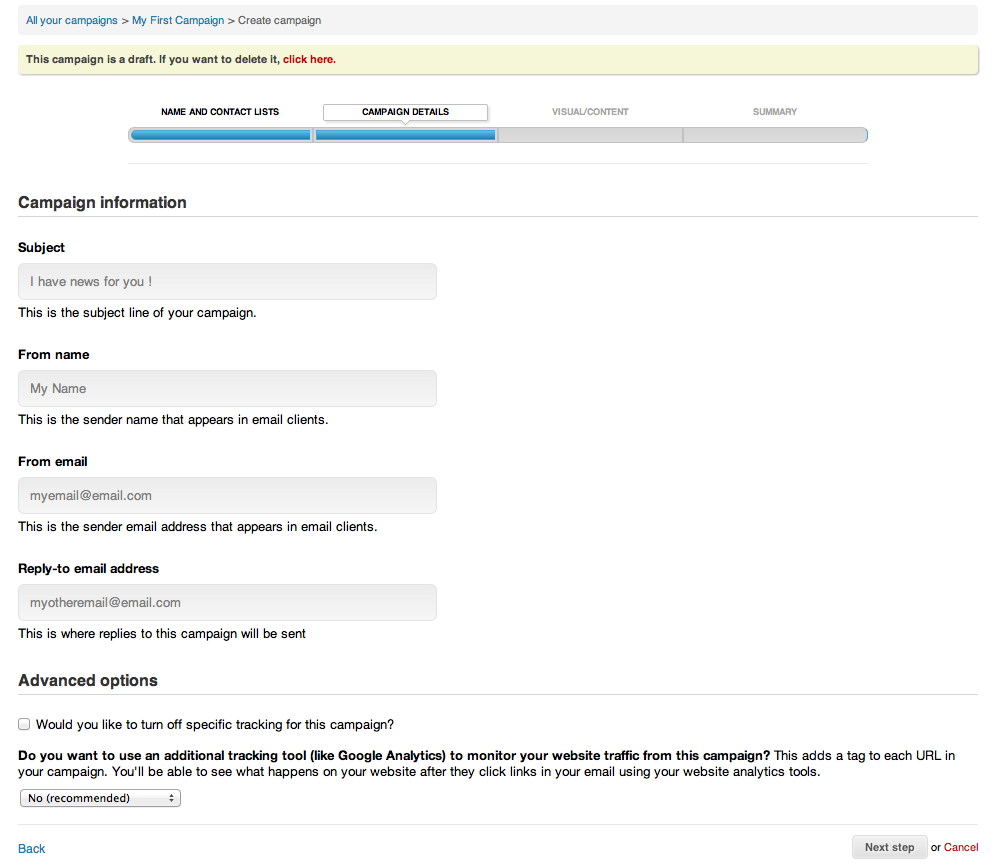
You will also see Advanced options available - these includes enabling/disabling tracking clicks, opens, and adding third-party tracking programs, such as Google Analytics.
![]()
Powered by WHMCompleteSolution