Creating a new Contact List
Knowledgebase Article
Knowledgebase Article
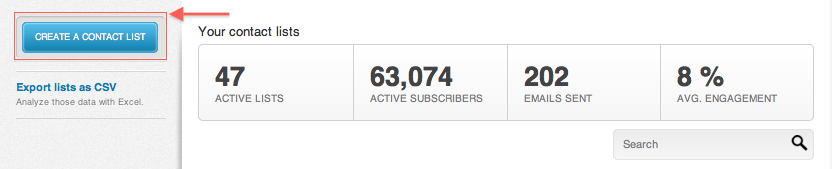
The Contact List tab will show you the number of active lists, subscribers, the number of emails sent and the engagement percentage.
To create a new contact list, click on the Create Contact List button on the left.
This will open a pop-up window where you can give your contact list a name, specify a Sender Name (who the users will see the emails are coming from) and a Sender Email (also your reply-to email address). Click on Create to complete the process.

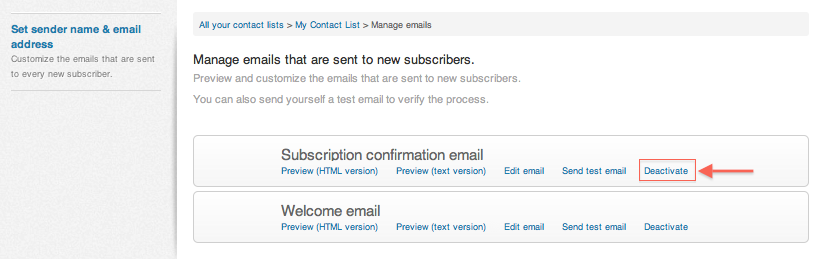
All lists are automatically created as Confirmed Opt-in. You can change this option by going to Manage Emails on the left hand menu. Under Subscription Confirmation Email, click Deactive. This will convert your list from Confirmed Opt-in to Opt-in.
Single opt-in is when someone knowingly signs up to a mailing list by checking an empty “Yes, please sign me up to receive news from company x” box when submitting a form (like an online shopping cart, or account registration for a particular website). Although better than the Opt-Out method we’ll talk about next, this method leaves list owners open to abuse and generally results in a higher spam and/or Bounce rate that can lead to serious delivery problems.
When someone signs up for your mailing list, a confirmation email is sent to their email address and an action is required (like clicking a link) in order to confirm that the address is valid. It is highly known throughout the industry as being the most effective method of growing your list as only the true owner of the email address can sign up and confirm their subscription - therefore generating very few complaints, if any. It also prevents you from adding any invalid and/or spam “trap” addresses to your list as they will never complete the confirmation process.
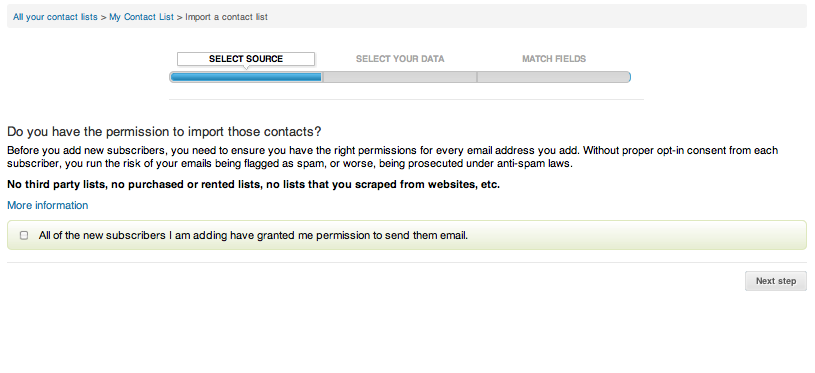
You will be asked to confirm that you have permission from the recipient(s) to add them to your list. Click on the checkbox and go to the next step.
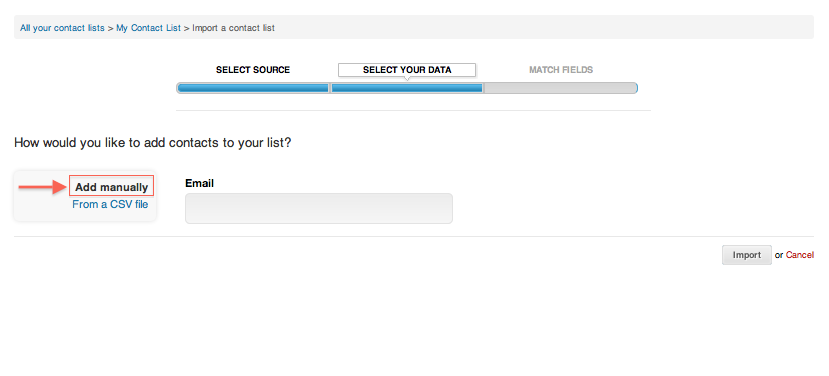
Click on Add Manually on the left hand side and enter the email address you wish to add to your list
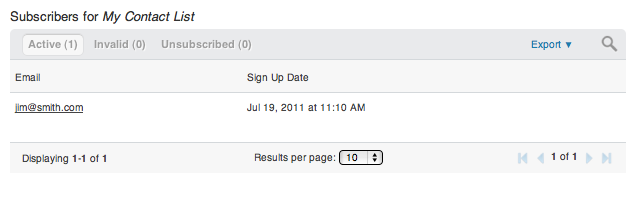
Once the recipient has been successfully added, you will see it under the active subscribers list.
Powered by WHMCompleteSolution