Configuring Software Auto-Updates
Knowledgebase Article
Knowledgebase Article
When you install software in your account, one of the most important things is to keep it up to date. Software that is left outdated can become vulnerable to hackers and spammers. Updates are released to fix security vulnerabilities, improve performance, add new features, and ensure compatibility with newer technologies.
For more information on vulnerabilities and how we help protect your website, please see this article.
If you're using WordPress, you can manage updates easily with WP Toolkit in cPanel.
For more details, please see this article.
If you installed an application using Softaculous in cPanel, you can configure it to automatically apply updates.
1. Once you've filled in the details of the application you are installing, expand the Advanced settings by clicking the plus icon. It should look something like this:

2. Tick the Auto Upgrade box. For some applications, such as WordPress, you can also enable automatic updates for plugins and themes.
3. To protect your data, ensure backups are enabled. Set backups to Once Per Day with 1 backup rotation kept. If you need more backup storage, consider our CodeGuard backup solution, which retains backups for 90 days.
Softaculous will then ensure your applications are updated while maintaining a backup in case you need to revert to a previous version.
If you have software already installed but not set to auto-update, you can enable this via Softaculous.
1. Log into Softaculous and click the All Installations button at the top. It should look like this:

2. Locate the software you want to auto-update. If it doesn't appear, it may not have been installed via Softaculous and needs to be imported first. Follow this guide to import it.
3. Click the Edit icon next to the application.
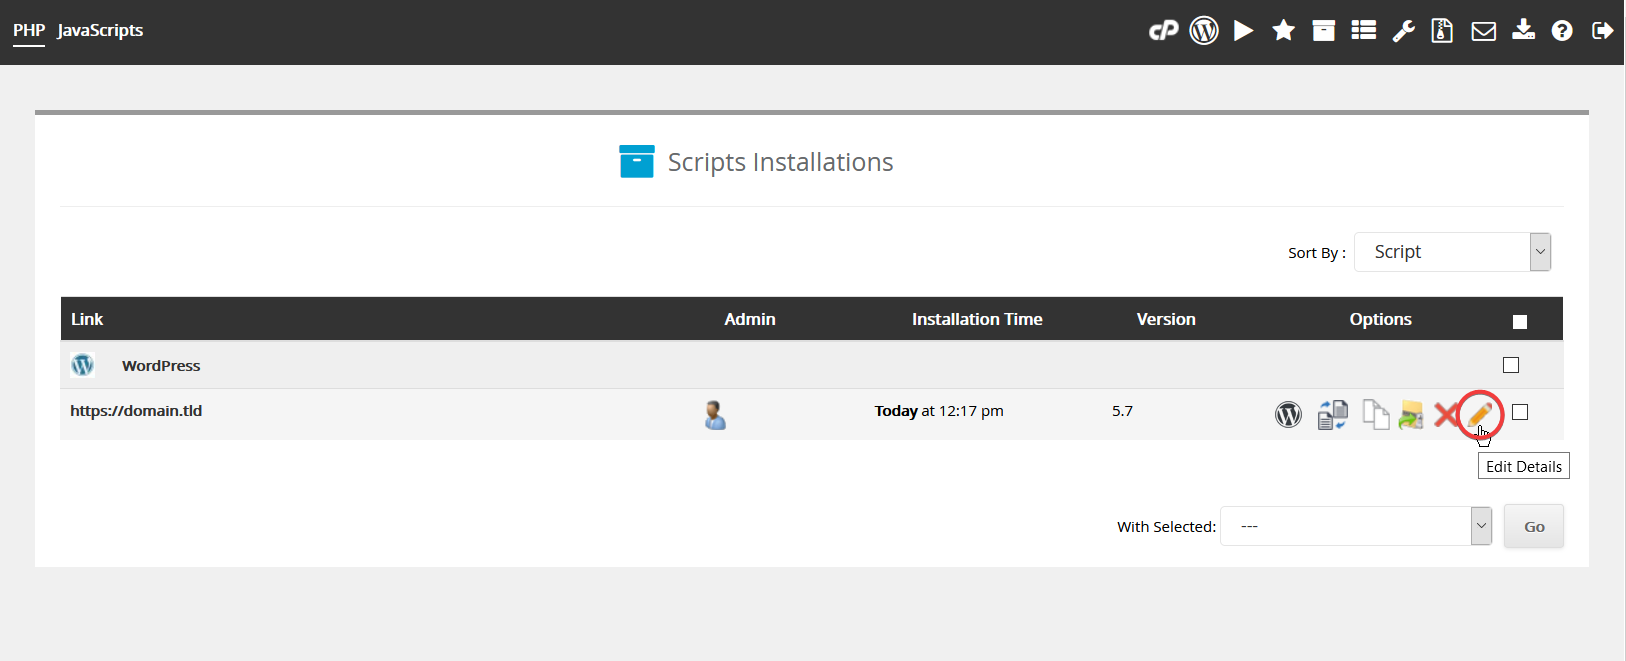
4. On the application details screen, enable auto-updates in the same way as outlined above.
For applications not managed by Softaculous, updates may be available in different ways:
IMPORTANT: While automatic updates usually work smoothly, there are occasions where compatibility issues can arise. For example, if your theme or a plugin hasn’t been updated by its developer to work with a new version of your software, an update could break your site.
For WordPress users, if you're using WP Toolkit in cPanel, you can enable Smart Updates. This will automatically create a backup before applying updates, and also test your site before and after the update to detect any issues before changes go live.
For those using other software, updating manually or via other methods, it's essential to take precautions:
By keeping your software updated and ensuring you have backups in place, you can maintain a secure, functional, and stable website with minimal risk.
Powered by WHMCompleteSolution