Best practices to Optimise Images in Magento v2
Knowledgebase Article
Knowledgebase Article

Page speed is critical for SEO and user experience.
Huge part of Page speed and one of web development fundaments is the image optimisation.
Magento v2 comes well optimised, but as soon as you change the theme and start adding products, you'll need to start thinking about optimising the images.
Most solutions are expensive, and the cheap ones could be time taking.

That's why we have implemented a set of tools on our servers, that will allow you to use the Image Optimizer extension to easily and quickly losslessly optimise the images on your store.
Lossless image optimisation is a method of compressing images with absolutely no loss of quality, by simply removing all of the unnecessary metadata from the image files.
Even images which you may think have been well optimised, for instance using Photoshop’s “Save for Web” feature, can typically be further reduced in size. The gains may be small, on average around 10-15%, but across a large number of images on a page this can amount to a huge difference.
To analyze and benchmark your site, we can suggest using GTmetrix.
All benchmark images in this article are taken from GTmetrix.
1: Make sure that your Magento store is in sync with the Magento Marketplace:
Login to the Magento Marketplace >> Click on your name >> My Profile >> Access Keys
Copy your Public and Private Keys.
Login to the Magento Admin backend and click on: System >> Web Setup Wizard >> System Config.
Enter the Public and Private Keys.
2: Get the Image Optimizer extension.
Click on Add to Cart and Checkout.
3: Back on the Magento Admin backend. Click on: System >> Web Setup Wizard >> Extension Manager >> Review and Install.
If your Magento store is in sync with the Marketplace, then you should be seeing the extension listed below:
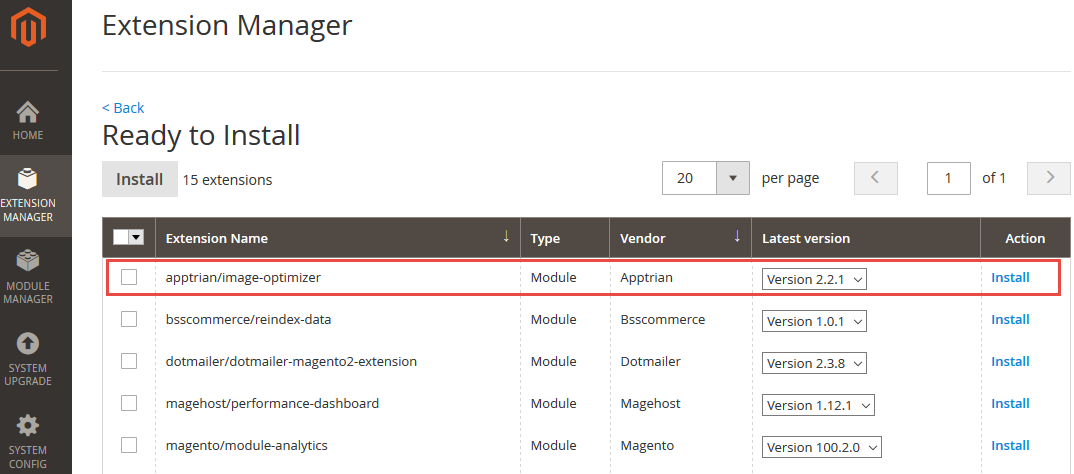
Click on Install and complete the installation.
If your installation is stuck on Update pending - then make sure that the Magento crons are properly configured!
Once enabled, go to: Stores >> Configuration where you should find the Apptrian Extensions page:
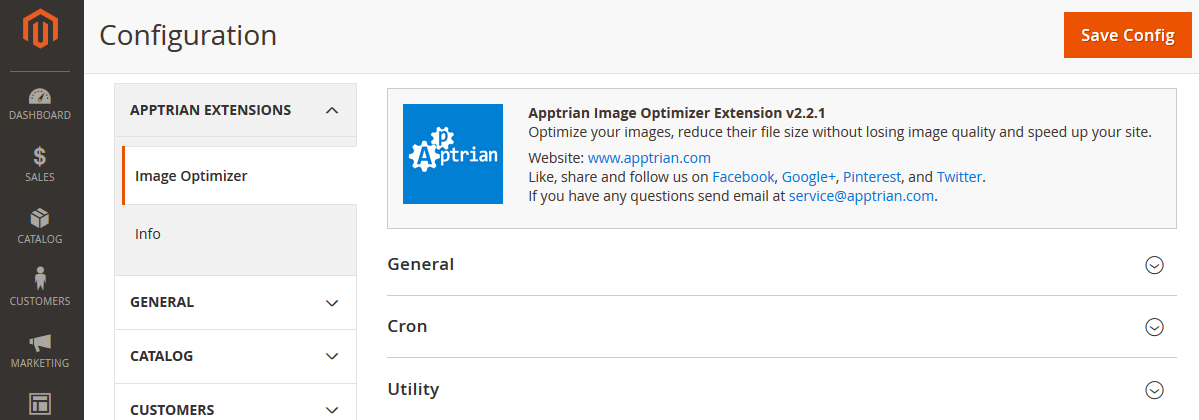
To set up Image Optimizer, click on Utility and fill in the following:
Use 64-bit Utilities: no
Log Utility Output: yes
GIF Utility Exact Path: /usr/bin/gifsicle
JPG Utility Exact Path: /usr/bin/jpegtran
PNG Utility Exact Path: /usr/bin/optipng
Save Config.
Head back to the General section and set up the Batch Size, based on the number of images on your store and your web hosting plan.
I can suggest keeping the size between 50 and 100.
Click on:
1. Start Scan and Reindex Process.
Once the reindex is completed:

click on:
2. Start Optimization Process.
Image Optimizer will process and optimise "Batch Size" of images in one Go:

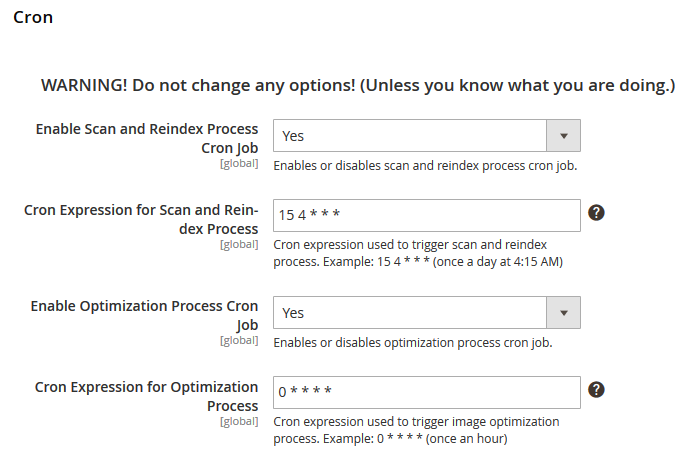
You can also set up the optimisation as a Cron job:
Once all images are optimised, Flush Magento Cache as well as Flush Cache Storage and Flush Catalog Images Cache via System >> Cache Management.
Test your web site again. You should get a perfect score now:

That's how you optimise images in Magento v2. Feel free to contact us if you need further assistance.
Powered by WHMCompleteSolution