How to use the Git Version control tool in cPanel
Knowledgebase Article
Knowledgebase Article
We are glad to announce that the cPanel GitVersion control tool is now available across our shared hosting infrastructure. In this tutorial, we will show you how to create a Git repository within your cPanel and provide you with a list of useful commands that you can use to manage your repository.
In order to access the Git interface, please navigate to your cPanel and click on the GitVersion control tool which is located under the Files section:

To create a repository, click on the Create button on the right part of the page:

By default, the option to clone a repository from an external source is enabled. If you like to proceed with the clone of already existing repository, you need to obtain the link to the repository and paste it in the Clone URL field. The other fields will be filled out automatically:

If you would like to create a new repository, you should disable the Clone a Repository option and fill out the path of your repository and its name:

Finally, click on the create button below the form and your repository will be created. Right after that, you will be redirected to a page which contains useful instructions and commands that will help you to either connect your repository with an existing project on your local machine or use the repository to start a new project.
The repository will be added to the list of existing repositories as well:
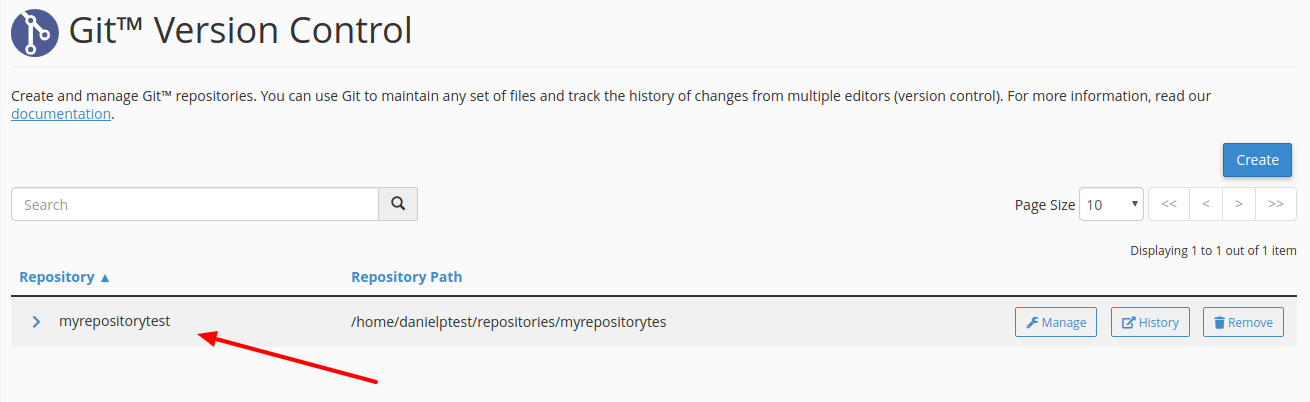
The manage button leads to a page from where you can manage your repository:

The history button will show you a history of all changes made to your repository.
This is the end of this tutorial. If you run into any difficulties, you can always submit a support ticket to our Helpdesk. Our technical team will gladly assist you.
Powered by WHMCompleteSolution