How to Add or Manage DNS Records in cPanel (Zone Editor)
This guide explains how to view, add, edit, and delete common DNS record types using the Zone Editor in your account's cPanel interface.
Navigation
Step 2: Open the Zone EditorStep 3: Select the DomainHow to Add DNS RecordsAdd an A RecordAdd a CNAME RecordAdd an MX RecordAdd a TXT RecordHow to Edit a DNS RecordHow to Delete a DNS RecordCheck Email Routing (Important for MX Changes)DNS PropagationCommon IssuesChanges Not WorkingEmail Not ArrivingBest Practices
Step 1: Log in to cPanel
There are two ways to access cPanel:
Option 1: Direct URL Access
- Open your browser.
- Go to:
https://yourdomain.com/cpanel
- Enter your cPanel username and password.
- Click Log in.
Option 2: Via the Client Area (Recommended)
- Log in to the client portal at:
https://my.kualo.com
- Click My Services.
- Select your hosting plan.
- Click the blue Login to cPanel button.
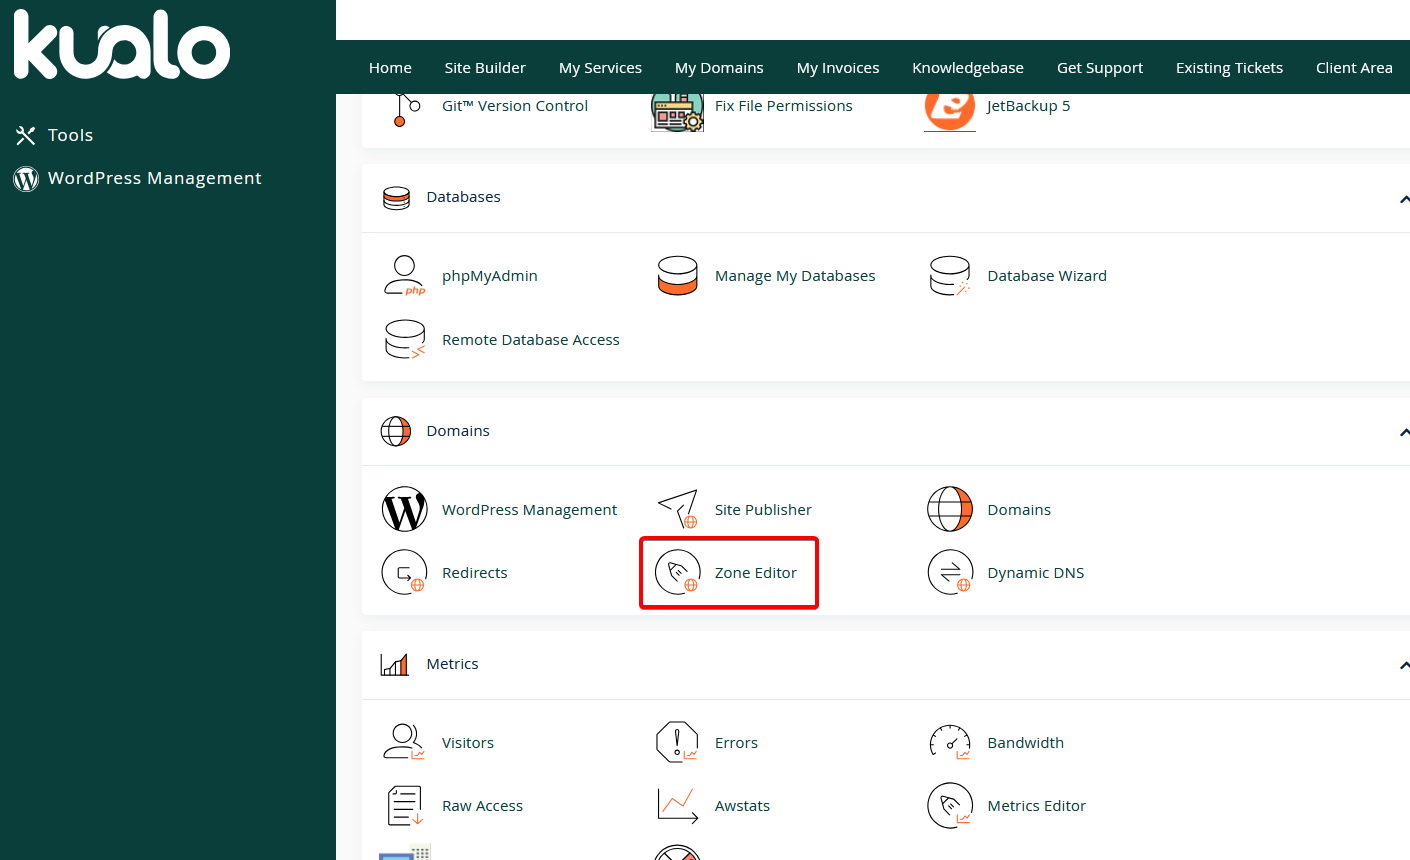
Step 2: Open the Zone Editor
- In the cPanel dashboard, scroll to the Domains section.
- Click Zone Editor.
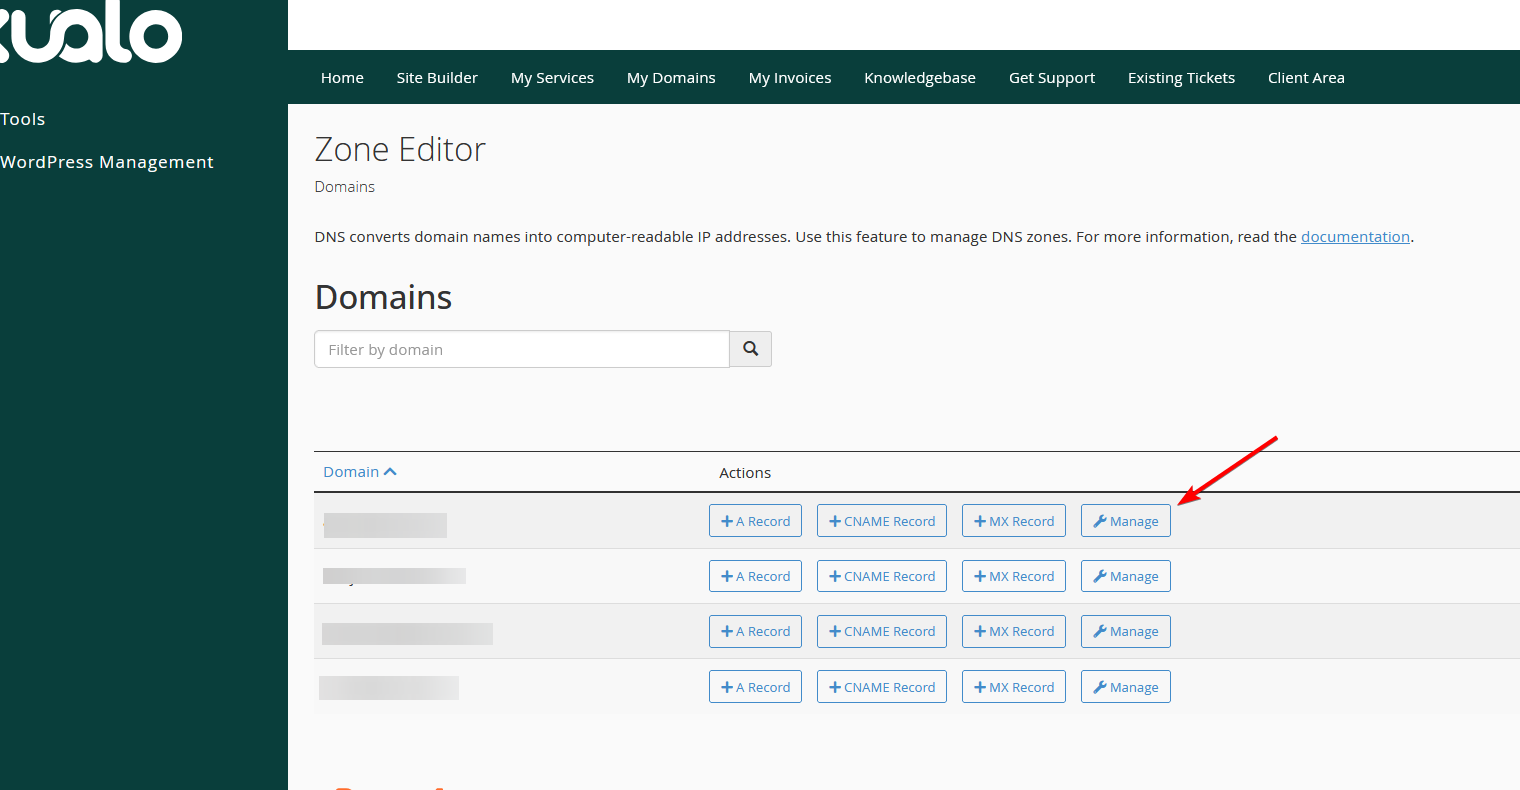
Step 3: Select the Domain
- Locate the domain you want to manage.
- Click Manage next to the domain.
How to Add DNS Records
This article covers some common types of DNS records. If you need assistance with these or any other types, please contact our support team for assistance.
Add an A Record
An A record points a domain or subdomain to an IP address.
- Click + Add Record.
- Enter:
- Name:
subdomain.example.com
- Type:
A
- Record: Server IP address, or the IP address you have been provided with
- TTL: Leave default unless instructed
- Click Save Record.
Example:
- Name:
mail.example.com
- Type:
A
- Record:
1.2.3.4
Add a CNAME Record
A CNAME points one domain to another domain.
- Click + Add Record.
- Enter:
- Name:
www.example.com
- Type:
CNAME
- Record:
example.com
- Click Save Record.
Add an MX Record
MX records define where email is delivered.
- Click + Add Record.
- Enter:
- Name:
example.com
- Type:
MX
- Priority:
0 (or as provided)
- Destination:
mail.example.com
- Click Save Record.
Add a TXT Record
TXT records are typically used for SPF and DKIM entries, or for domain ownership verification.
- Click + Add Record.
- Enter:
- Name:
example.com
- Type:
TXT
- Record: Paste the full TXT value
- Click Save Record.
How to Edit a DNS Record
- Find the record in the list.
- Click Edit.
- Modify the required value.
- Click Save Record when finished.
How to Delete a DNS Record
- Find the record in the list.
- Click Delete.
- Confirm the deletion.
Check Email Routing (Important for MX Changes)
If you’ve made changes to your MX records, it’s important to ensure email routing is configured correctly. This tells the server whether email should be delivered locally (to mailboxes hosted in your account) or routed to an external mail service.
- Go to the cPanel main page.
- Click Email Routing.
- Select:
- Local Mail Exchanger if email is hosted on this server
- Remote Mail Exchanger if email is hosted elsewhere
- Click Change.
DNS Propagation
Changes to your DNS records can take between 5 minutes and 4 hours to propagate around the Internet.
You can use tools such as:
https://www.whatsmydns.net
to verify that your changes are active.
Common Issues
Changes Not Working
- Clear your browser cache
- Check that the correct domain was edited
- Confirm that your domain’s nameservers are pointing to us (contact our support team if you're unsure)
Email Not Arriving
- Verify the MX record set for your domain
- Confirm the Email Routing setting (see above)
- Make sure the MX record destination exists and points to a valid IP address
Best Practices
- Always double-check the IP address before saving
- Do not remove existing records unless you understand their purpose
- Take a screenshot before modifying critical records so you have a reference of the previous configuration